Applique, Christmas, Free Pattern, Holiday, Let It Snow, Tutorials
Let It Snow Christmas Card
Dec
Have you sent your Christmas cards out yet? If not, how about making a fun and easy card using scraps in your stash? I designed this card for a make-and-take project and I think you may also enjoy it!
You’ll probably have most of the supplies in your stash… I’ve included, in parenthesis, info on the products used, but make substitutions as needed to make it work for you!
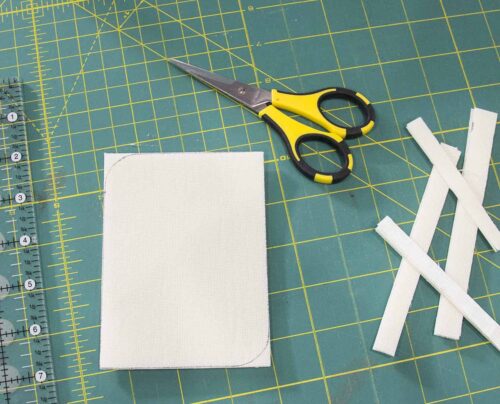
Gather the following supplies:
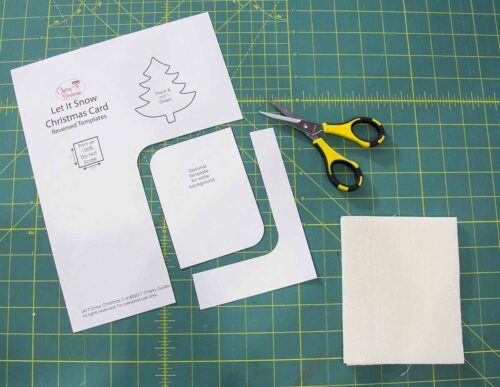
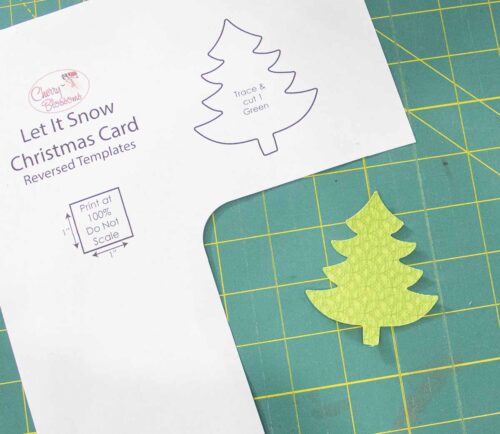
Download and print the card templates here (make sure your printer is set to print to “no scale”) I’m also including the SVG file for the little tree here
5″ x 6″ Red print
3 1/2″ x 4″ Green print
4 1/2″ x 5 1/2″ White print
4 1/2″ x 5 1/2″ Double sided fusible foam stabilizer (Bosal In-R-Form Plus)
3 1/2″ x 4″ Lightweight paper-lined fusible web (Pellon Wonder Under #805)
5″ x 6″ Lightweight non-woven fusible interfacing (Fusi-Form Lightweight)
8 1/2″ x 11″ sheet of card stock – 110 lb
Red & white bakers twine or embroidery floss
1/2″ Star button
A non-stick pressing sheet (Applique Pressing Sheet)
Repositionable fabric adhesive spray (505 Spray & Fix)
Large-eye needle
Sewing machine

Let’s make a card:
Cut the 8 1/2″ x 11″ card stock sheet in half to measure 8 1/2″ x 5 1/2″

I used my quilting ruler and a rotary cutter with an old blade… save your good blades for fabric.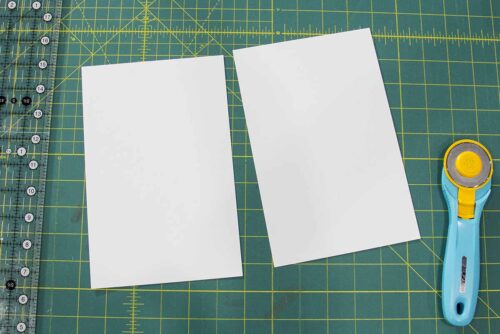
Fold the card in half…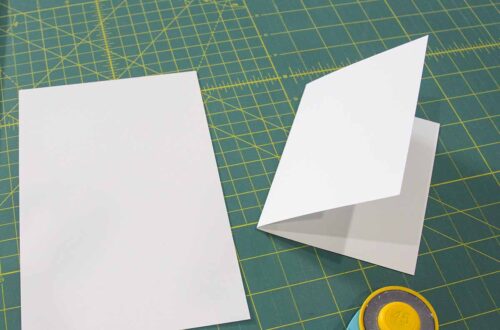
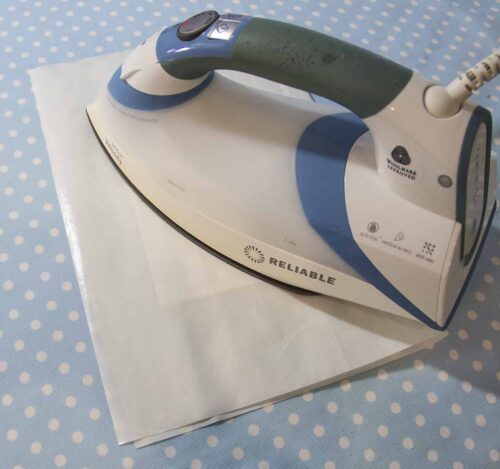
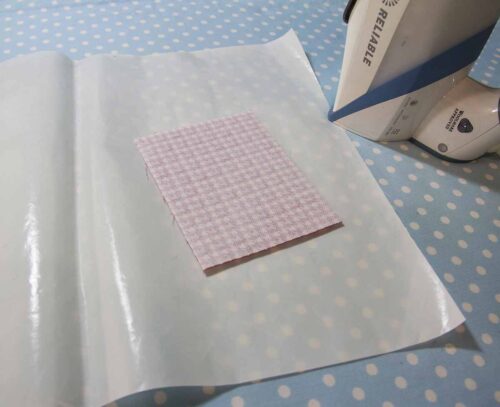
Place the 5″ x 6″ red print right side down on a non-stick pressing sheet. Align the 5″ x 6″ lightweight non-woven fusible interfacing, sticky side down, on the wrong side of the red print.
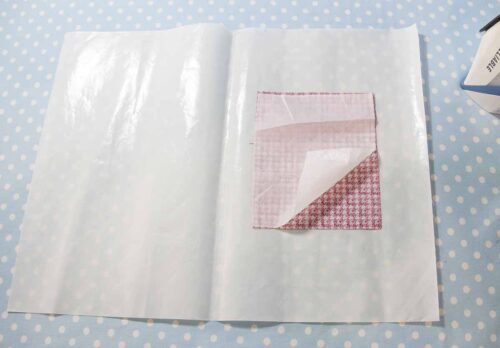
Fold the pressing sheet over the fabric/interfacing to protect both your iron and ironing surface.

Following your interfacing’s manufacturer recommendations, fuse the fabric/interfacing together, then allow to cool.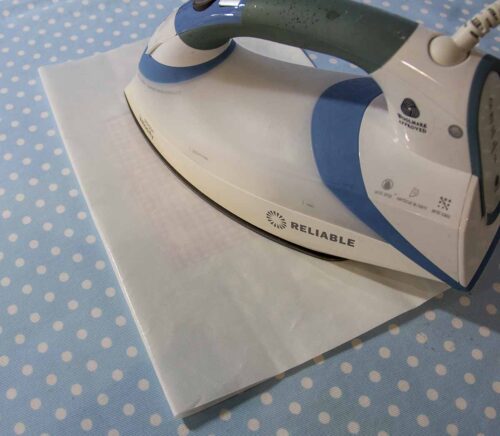
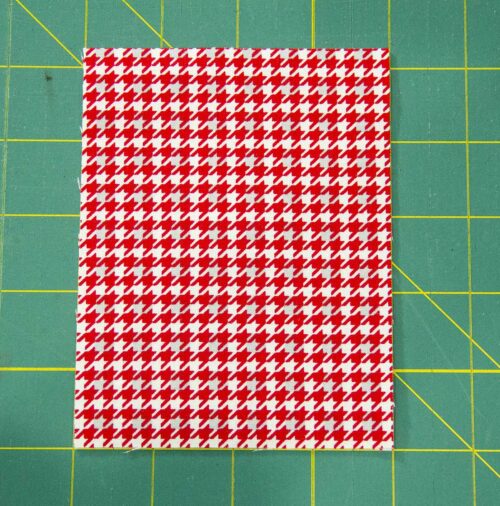
Cut the fused fabric/interfacing to measure 4″ x 5 1/4″; set aside.
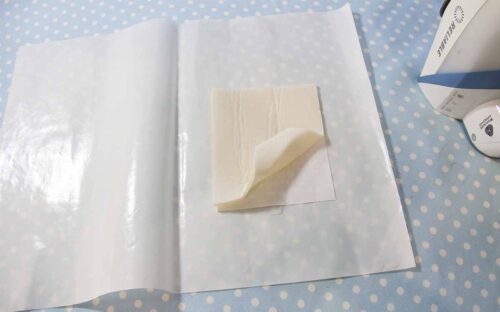
Place the 4 1/2″ x 5 1/2″ white print right side down on the non-stick sheet. Now place the 4 /2″ x 5 1/2″ double sided fusible foam stabilizer on top of the wrong side of the white fabric and fuse together.
Print the template PDF and cut out the optional template for the white fabric.
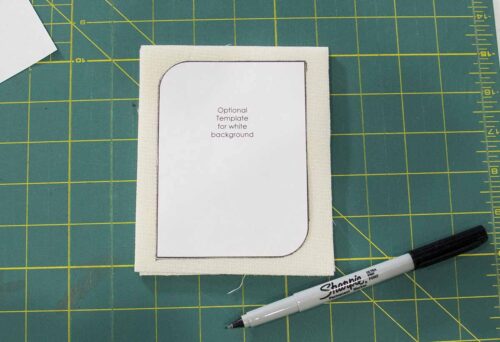
Transfer the template shape onto the foam side of the white fabric/foam sandwich.
Cut on the traced line… use a square ruler to cut the straight lines…
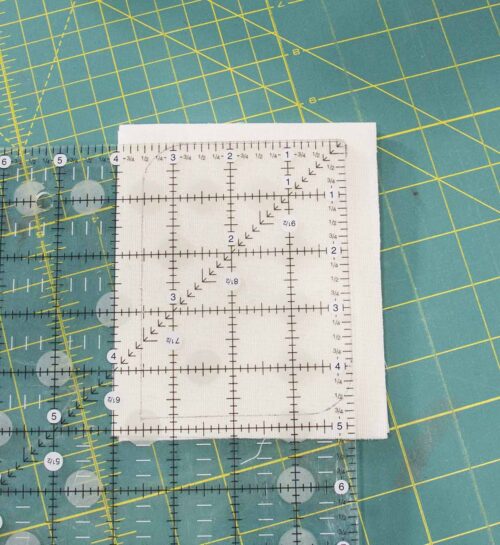
… and finish the curved corners with your scissors…
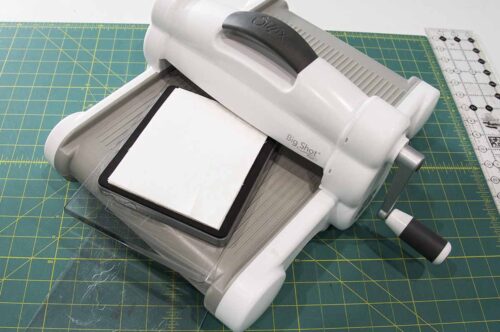
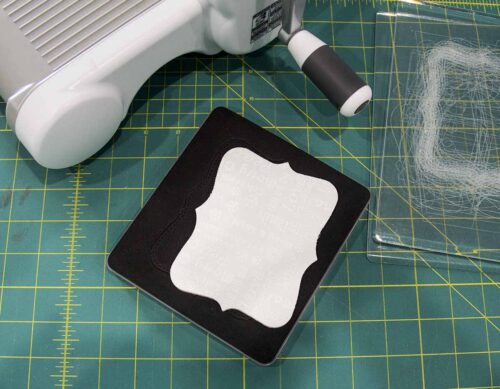
For the original card, I cut my white fabric/foam with the Stampin Up! Top Note die and my Sizzix Big Shot cutter from my card making stash… yes, I am also a scrapbooking collector… one of these days I’ll get back to scrapbooking…
Don’t have any double sided fusible foam stabilizer? No worries, just use a fusible batting or use a lightweight fusible to adhere regular batting to the white fabric.
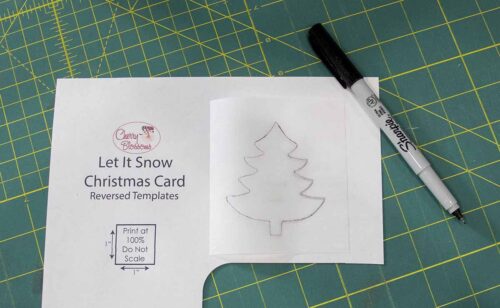
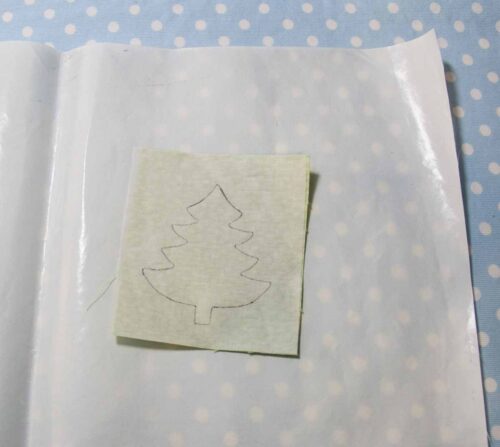
Alright, let’s make the little tree! Using your template sheet, trace the tree shape onto the paper side of the paper-lined fusible web.
Place the 3 1/2″ x 4″ green print, wrong side up, on the non-stick sheet; place the 3 1/2″ x 4″ traced fusible, sticky side down on top of the wrong side of the green print and fuse together.
Cut the little tree out on the traced line.
Assembling the card:
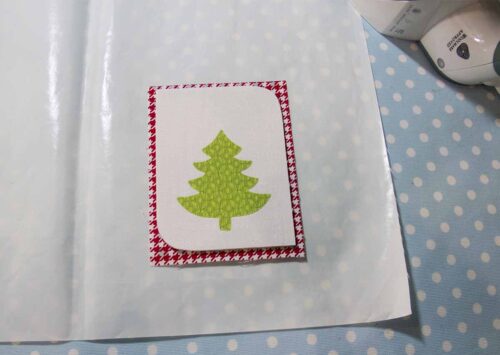
Place the red fabric, right side up on top of the non-stick sheet. Center the white/foam shape over the red fabric…
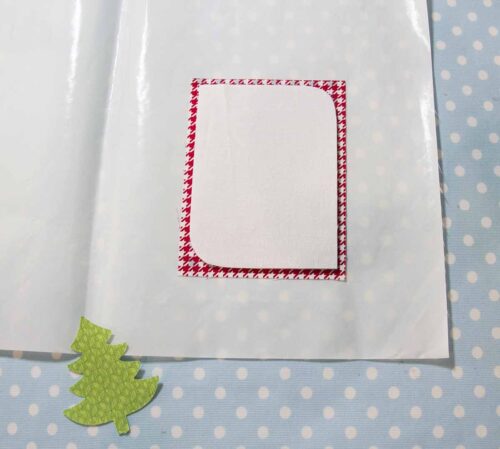
…grab the two pieces together and carefully flip them over to press and fuse from the back…

Next, peel the paper liner from the back of the little tree, place it on the white fabric, right side up, and fuse in place.
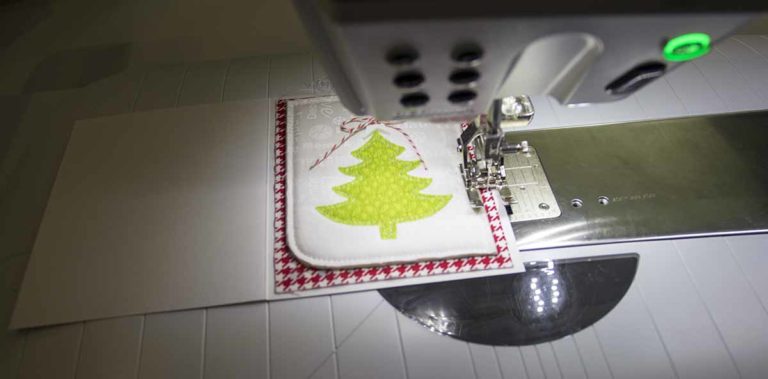
Thread your sewing machine with white thread. For better visibility, I’ve installed my favorite open toe foot #20D on my BERNINA B880. Using a straight stitch, sew about an 1/8″ in from the edge of the white fabric.
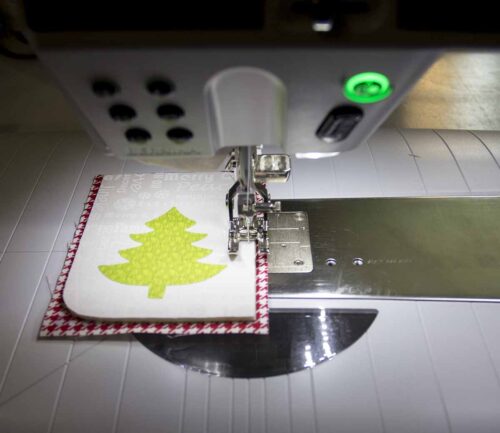
Applique the little tree down with the same white thread and straight stitch.
Voila! Applique and quilting in one step!
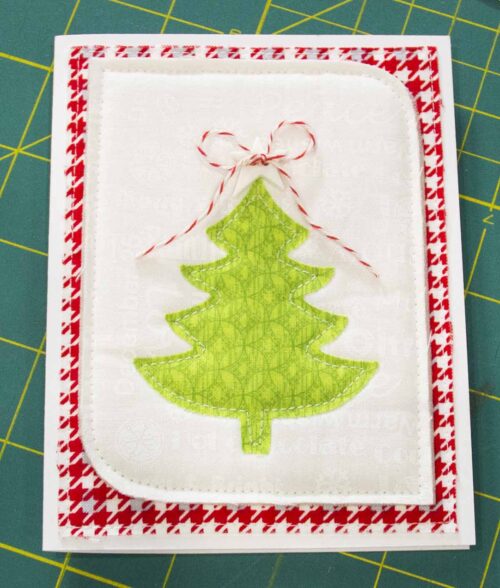
Thread a large-eye needle with the bakers twine and sew the star button down from the top of the card…
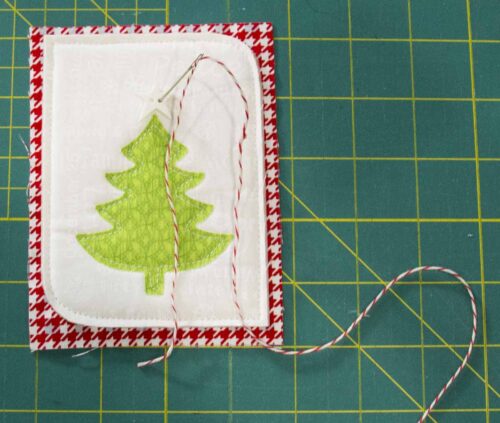
…bringing the twine back up…

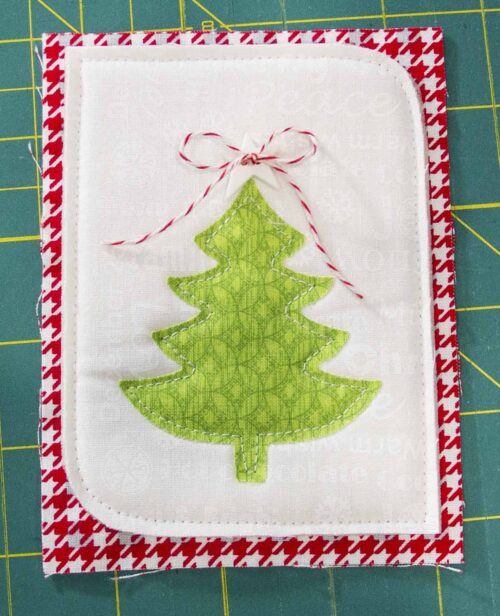
…and tie a tiny bow to hold the button in place.
Protect your table with a sheet of paper. Place the stitched piece, right side down on the paper and spray the back with a repositionable spray adhesive.
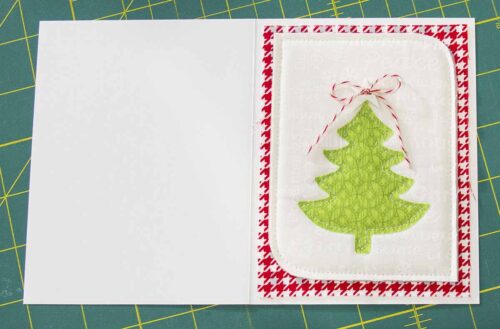
Open the folded card stock and firmly press the stitched piece onto the right side of the card stock.
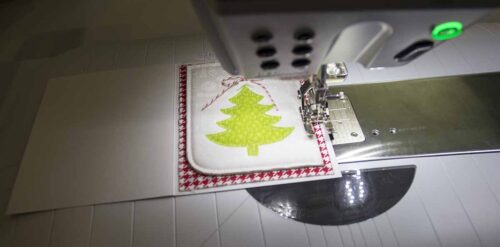
Take the card back to the sewing machine and stitch with an 1/8″ seam allowance from the edge of the red print.
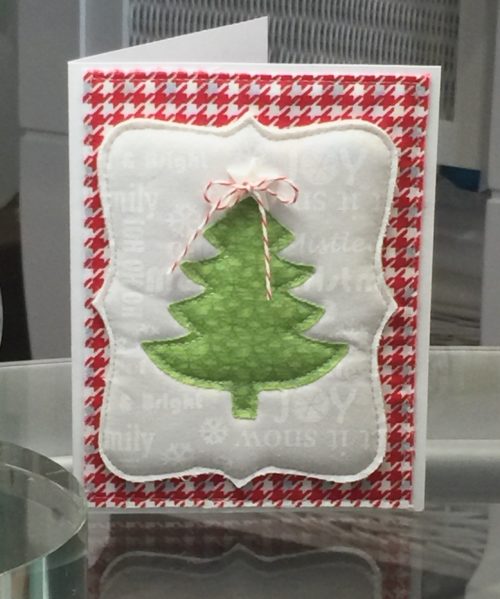
And there you have it, a sweet little card to share with a loved one!
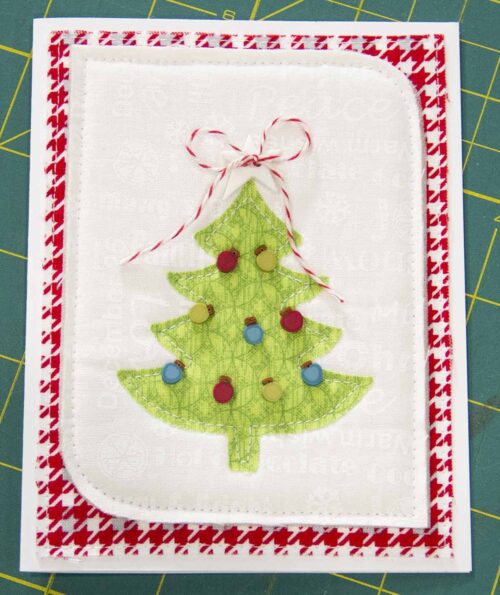
But I couldn’t stop there, haha! My friend at Just Another Button Company sent these adorable little light bulb buttons that are perfect for this little tree, don’t you agree?
I hope you’ll give this a try, it’s really fun and quick… and how about getting a group of friends together for an evening of card making, sharing, laughter…? Would love to have you join my Facebook group, Quilting with Cherry, to share pictures of your little cards!
Happy stitching,

PS: Don’t forget to enter the Frosty Forest FQ bundle giveaway here!
Great tutorial. Beautiful Christmas Card packed with #CreativeGooodness
Thanks so much QuiltShopGal!
I love this idea…thanks for sharing!
Thanks Carol! Hope you’ll try it!
This is awesone! I’ll have to make a few!
Awesome! Hope you have fun making them… send pics!!
Since my foot injury limits my shopping, this is perfect idea to make giving my kids and grandkids more personal.Thanks for this great idea-Linda
Yay Linda! Love that you’ll be making memories with your kids!
What is this Sizzix Big Shot cutter, does it work like a die cutter and how you determine the shape to be cut.
Thanks for this great tutorial and the template. Really useful and much appreciated 🙂
Sew very cute! I’ve never tried stitching Christmas cards.
I’ve read your article. Honestly, I’ve never read this type of informative and efficient article before. This article will help lots of beginners like me to build skills in embroidery. Love to read your incoming blogs too. Really appreciate your work and dedication.